
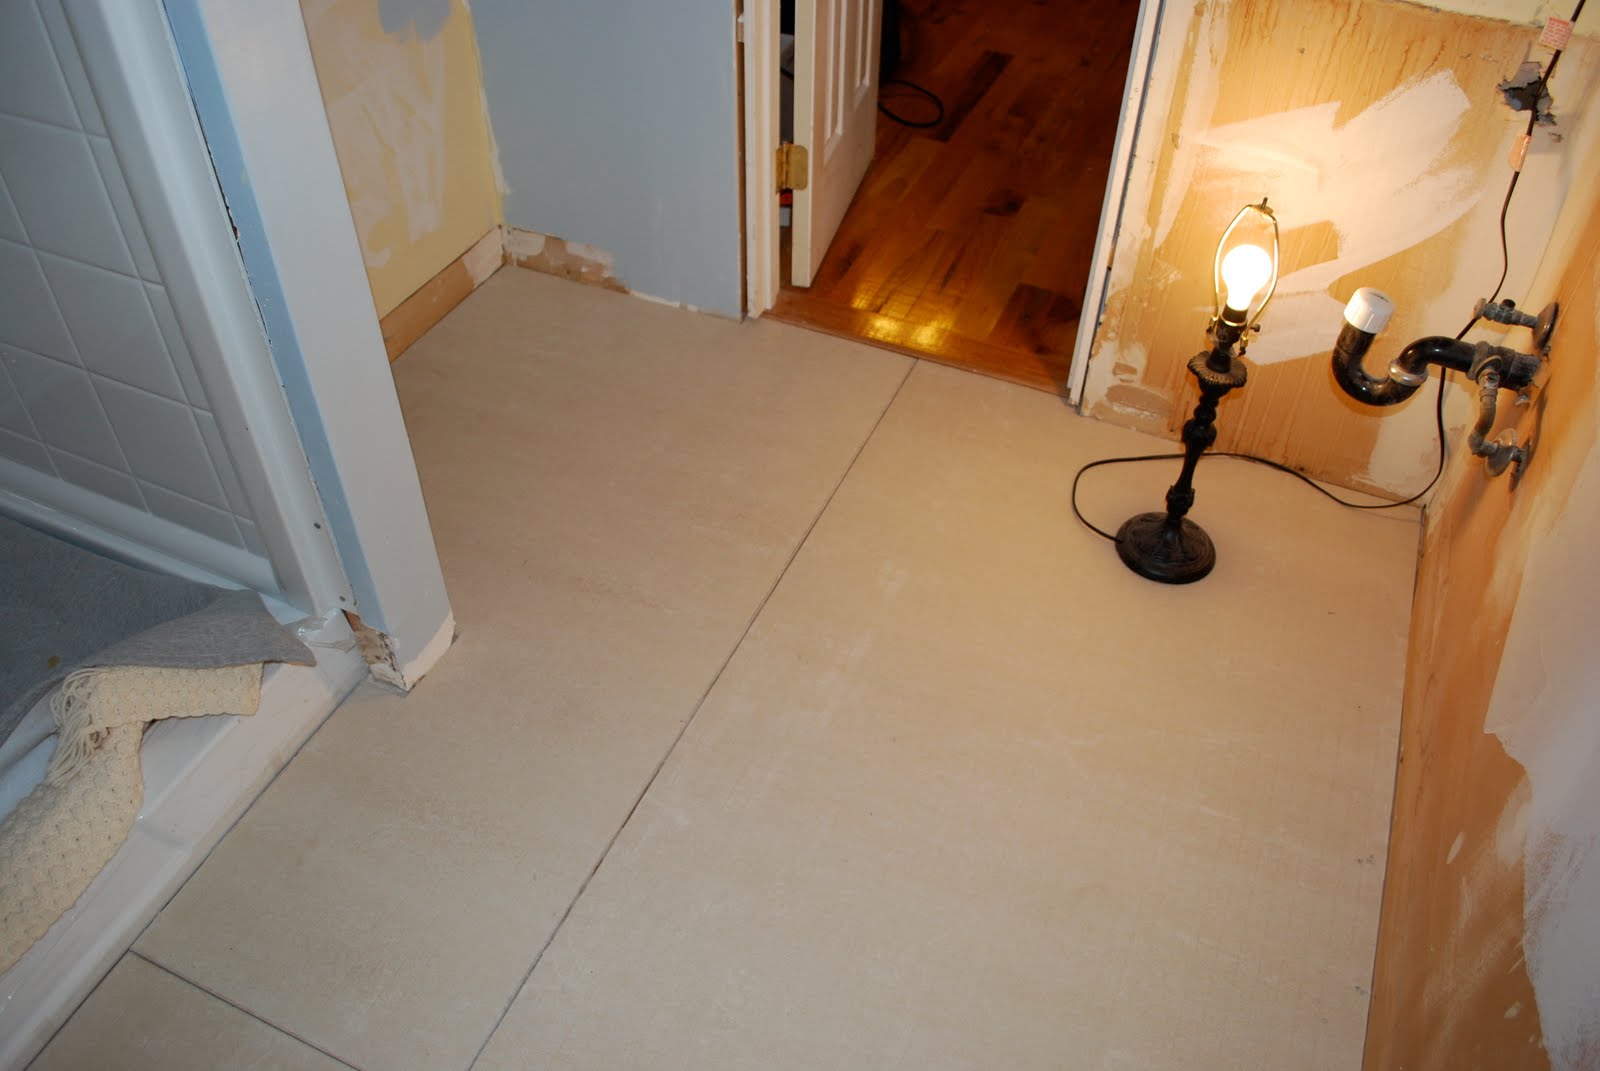
Ok you know you are a slacker-blogger when you actually have to go back and read your last blog to see where you have left off! To look at the pictures I posted last time makes me feel awesome because we have really come a LONG way since then.
So the first thing we had to do after we got the shower base in was to prepare for the walls. We had had a lot of trouble trying to get the ancient shower knobs off, so we kept putting it off. Well, here it was...we HAD to get them off to install the new walls, no way around it! It was quite a process, Jonathan tried as hard as he could to get it off with no avail. I suggested we take a break and just come back to it. At this point it was sort of a pickle-jar situation. You know, you try and try to get the lid off and it won't budge, then someone else picks it up and it appears to be the easiest thing ever? Well, that happened but it was still him trying. It was like he barely touched the knob with the wrench and it basically flew off. Whew...glad that worked :)
 So generally, you are supposed to install the back wall first, but we couldn't because we were not interested in re-working the entire piping line for the shower, and with the curve of the walls we chose there was just no other option but to install the side wall first. This called for hours upon hours a bit of time measuring and cutting the holes for the fixtures. Perfect fit!
So then it was time to attach the walls. We pre-drilled holes for the nails, and got the caulk gun ready with the Liquid nails. About half-way through the application of liquid nails, I came to the realization we were absolutely NOT going to have enough. I wiped down the spots I had already covered and announced we would need to return to HD for more. * lesson learned: always get way more than you think you need or than the directions say...you can always return it if you don't use it, but most likely you will have gotten the perfect amount anyway!So the first thing we had to do after we got the shower base in was to prepare for the walls. We had had a lot of trouble trying to get the ancient shower knobs off, so we kept putting it off. Well, here it was...we HAD to get them off to install the new walls, no way around it! It was quite a process, Jonathan tried as hard as he could to get it off with no avail. I suggested we take a break and just come back to it. At this point it was sort of a pickle-jar situation. You know, you try and try to get the lid off and it won't budge, then someone else picks it up and it appears to be the easiest thing ever? Well, that happened but it was still him trying. It was like he barely touched the knob with the wrench and it basically flew off. Whew...glad that worked :)


So once we got back and I applied the adhesive, there was no time for thinking, we just had to stick those walls right up and then nail them in! It was all over pretty fast. We pressed them in firmly haha, and then rigged a couple of shower curtain rods between them to hold them in place while the adhesive set overnight...the directions suggested constructing a brace of 2x4's. Crazy direction-writers.


And then came the true test...the moment we've all been dreading...the laying of the tile. After 3 days of after-work prep, we had everything labeled, organized, and ready to go. Last night we got started about 6:15 with the first batch of mortar and the first row of tile. I'm not going to lie, that was probably the worst thing we've done so far...we are talking way worse than joint compound, people. We persevered, and within no time we had a real system going. Jonathan mixed up the cement downstairs and brought it to me. I would spread it for the next row, then Jonathan would lay the tile, add the spacers and press it in place. Then, I would clean out the spaces, even everything up, and re-position the spacers while Jonathan mixed the next batch. And so it worked for all 6 rows! We finished up at 9:15 after spending a while scrubbing cement off of the surrounding floor and ourselves...not bad for our first try! I will say that the tile looks much better in person. I don't know what it is, but it really does not photograph well so you will just have to come over to see it when it's done!


The End (for now)
I LOVE your stories!!! The room looks great. I can't wait to see it this week-end!!!
ReplyDeleteThis looks amazing. We have to come over and peek soon!
ReplyDelete